A Brow Lamination Appointment, From Start to Finish
Brenda Cammo Team
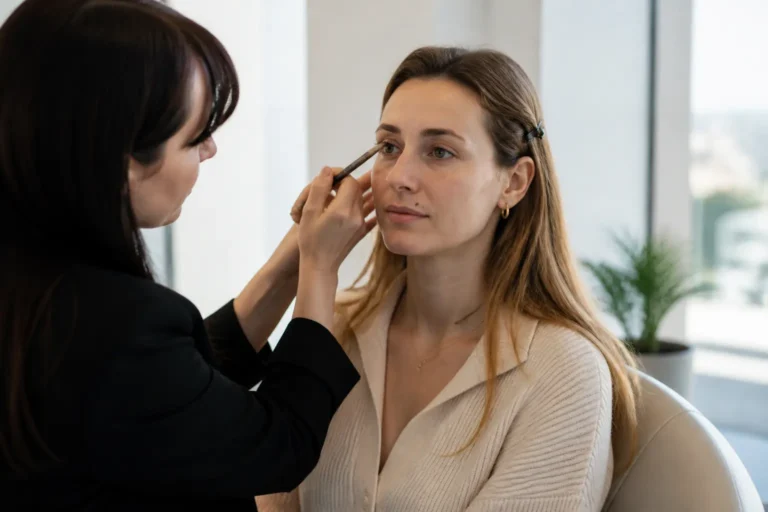
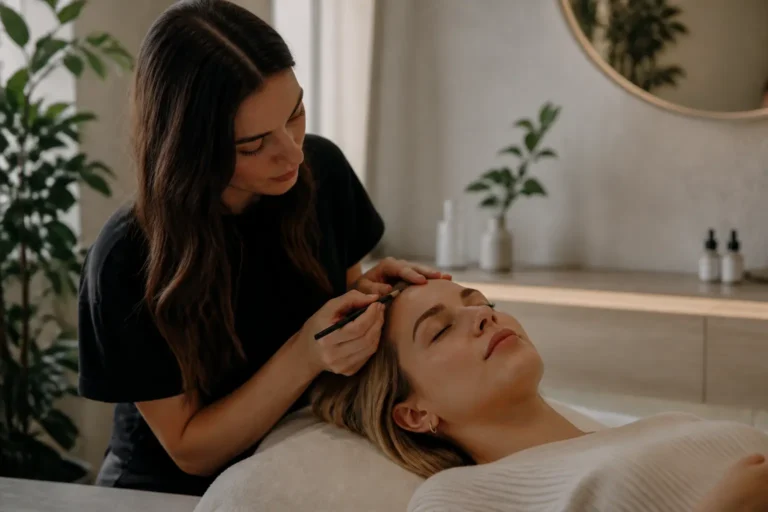
If you are considering brow lamination for the first time, it helps to know that the appointment is not simply about brushing hairs upwards. A professional session is a considered process: your brow artist looks at your natural hair direction, density, skin condition and the finish you would like, then works carefully to create a softer, more organised appearance.
At Becammo in Malta, brow lamination is approached as a personalised brow service rather than a one-look-fits-all trend. Some clients want a fuller, feathery effect. Others prefer a tidy, lifted brow that still looks understated. This guide explains what generally happens at a brow lamination appointment from the moment you arrive to the care you give your brows afterwards.
Before you arrive: how to prepare for brow lamination
A little preparation makes it easier for your artist to assess your brows accurately. Arrive with the brow area as clean as practical, without heavy make-up, brow pencil, tinted gel or oils. This gives the artist a clear view of your natural hair pattern and the skin around it.
It is also important to share relevant information honestly during your appointment. Tell your artist if you have had a previous reaction to a brow, lash, hair colour or cosmetic product, if the skin around your brows is currently irritated, or if you have recently used a product that has made the area feel sensitive. If you have an existing skin concern, a clinician is the right person to advise on it before a cosmetic appointment.
A salon patch test and a medical allergy investigation are not the same thing. Medical patch testing is used to help identify contact allergies and is assessed over several days. The NHS explains that this type of testing is used to investigate reactions to substances that touch the skin, including cosmetics. Read the NHS guidance on contact dermatitis diagnosis. Your brow artist can explain the studio’s patch-test process and whether it is appropriate before your service, but it does not replace medical advice.
Step 1: welcome, consultation and a realistic plan
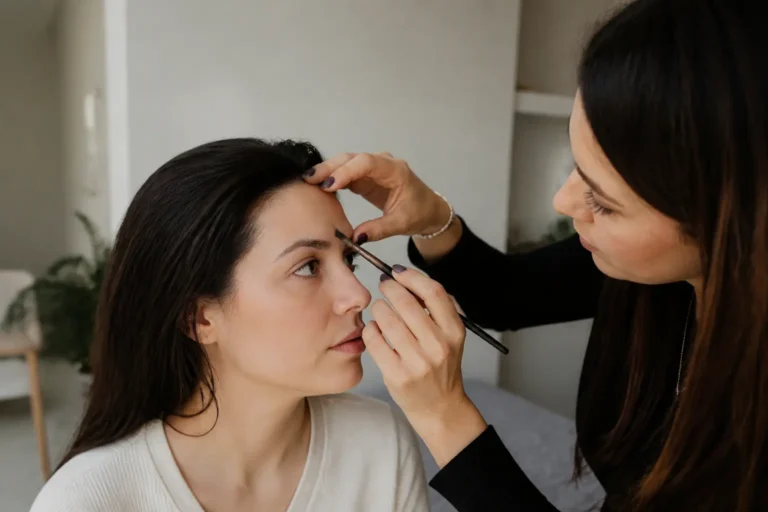
Your brow lamination appointment begins with a conversation. This is the part that turns a technique into a tailored service. Your artist will ask what you like about your brows now, what you would like to make easier in your daily routine and whether there is anything you would rather not change.
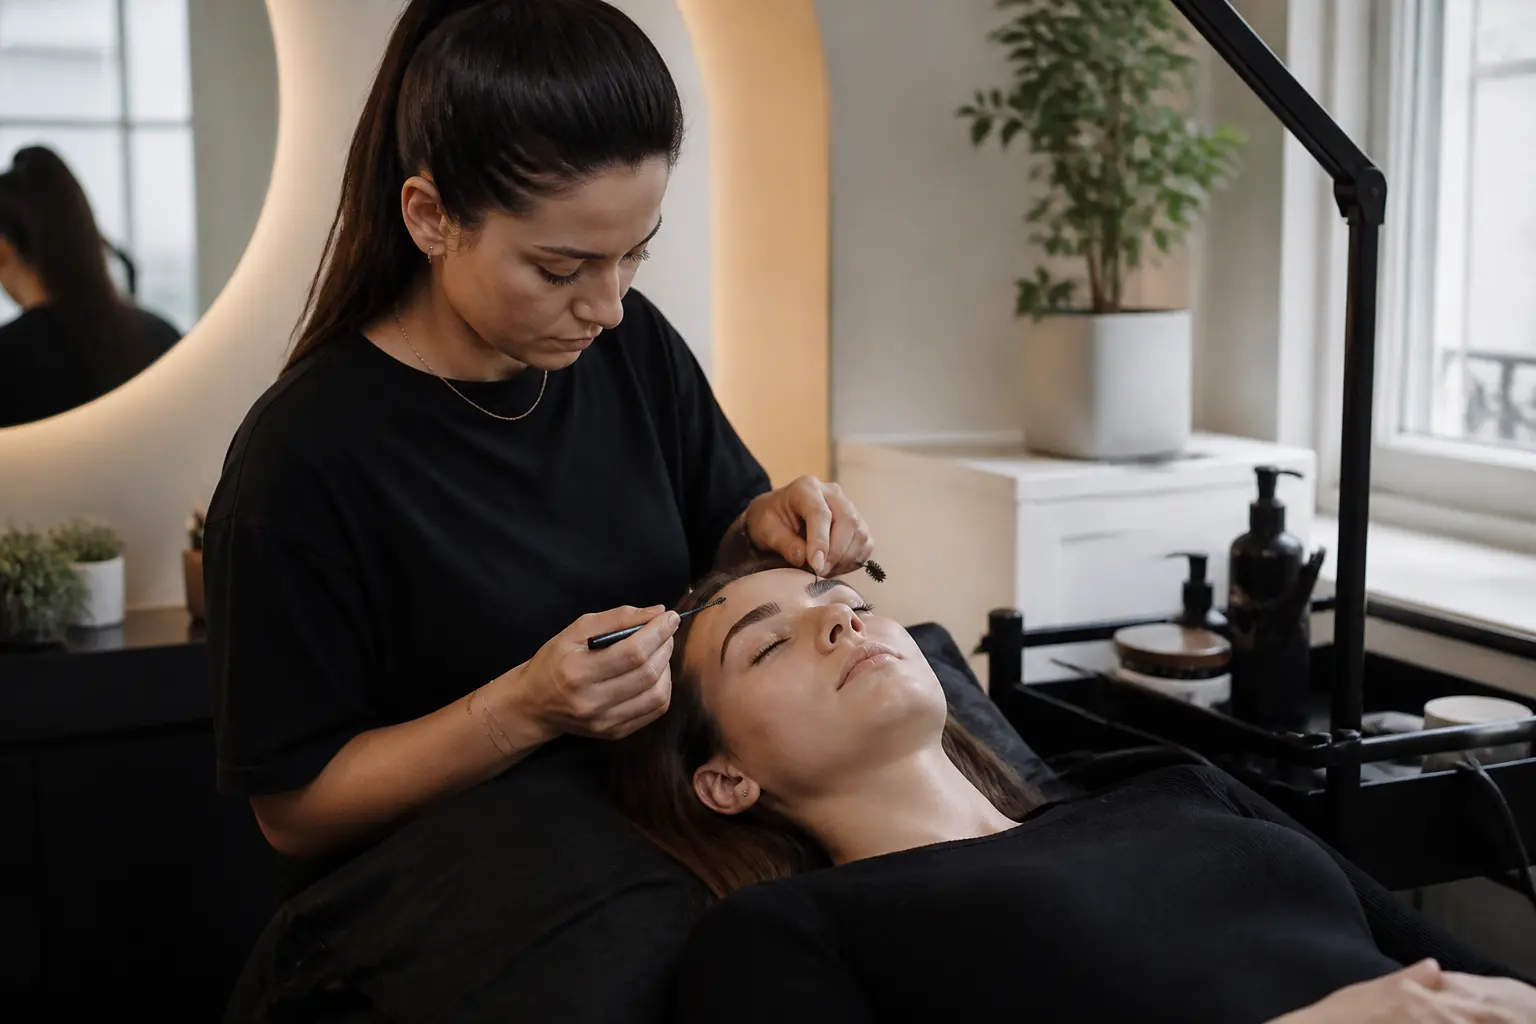
For example, you may have brow hairs that naturally point downwards at the front, grow in several directions through the arch or leave gaps when you brush them up. You may simply want your brows to look more even without relying on a strong daily soap-brow effect. These details help guide the finish.
The artist also assesses the brows in their natural state. They look at:
- the direction in which your hairs grow;
- how dense or fine the hairs are;
- areas that may need a gentler approach;
- the natural start, arch and tail of each brow;
- the condition of the skin around the brows;
- the level of lift that is likely to suit your face and daily style.
This stage matters because brow lamination is not designed to make every brow look identical. A lifted result can be soft and polished, textured and feathery, or more defined. The aim is to work with your individual features, not impose a single brow shape.
Step 2: deciding whether the appointment should go ahead
Professional care includes knowing when to pause. If the brow area is visibly sore, broken, sunburnt, peeling or unusually reactive, the safest choice may be to reschedule rather than continue. Equally, if your consultation raises questions about a past product reaction, the artist may recommend a patch test or ask you to seek appropriate advice first.
This is not an inconvenience or a sign that something has gone wrong. It is a sensible part of an appointment based on hygiene, observation and informed consent. A good result begins with brows and surrounding skin that are ready for the service.
Step 3: cleansing and setting up the brow area
Once the plan is agreed, your artist cleanses the brow area to remove traces of make-up, skincare and natural oils. Clean brows allow the products used during lamination to be applied with more control.
The artist then prepares their tools and products for the service. In a professional studio, hygiene is part of the process rather than something rushed through between steps. You should feel comfortable asking what is being used, what each stage is for and what you can expect to feel. Brow lamination should not be painful, although you may notice the gentle movement of hairs as they are brushed and positioned.
Step 4: positioning the hairs for your chosen finish
This is the stage many people picture when they think of laminated brows. The artist brushes the brow hairs into the direction that supports the intended shape. That does not always mean straight upwards. For some brows, a slightly diagonal direction creates a more balanced result. For others, a softer front and a controlled arch look more natural.
Positioning is especially important where the brows are uneven. One brow may have hairs that sit flatter, while the other grows more upright. Instead of forcing both sides into the same pattern, the artist makes small adjustments so they look harmonious when you are speaking, smiling and moving your face.
This is also why copying a social-media brow exactly is not always useful. Lighting, make-up, hair texture and editing can change how a result appears online. Your appointment is the opportunity to find a finish that looks good in your real day-to-day life in Sliema, Swieqi or wherever your schedule takes you.
Step 5: the lamination process itself
Brow lamination uses professional products to help make the brow hairs more manageable and guide them into their new direction. Your artist applies each product with care, following the professional system in use and allowing for your individual brow hair. The timing is not a fixed rule that should be copied from one person to another.
Hair thickness, previous chemical services, overall condition and the desired finish can all affect how conservatively the artist needs to work. That is why a trained professional observes the brows throughout the service instead of treating the appointment as a quick formula.
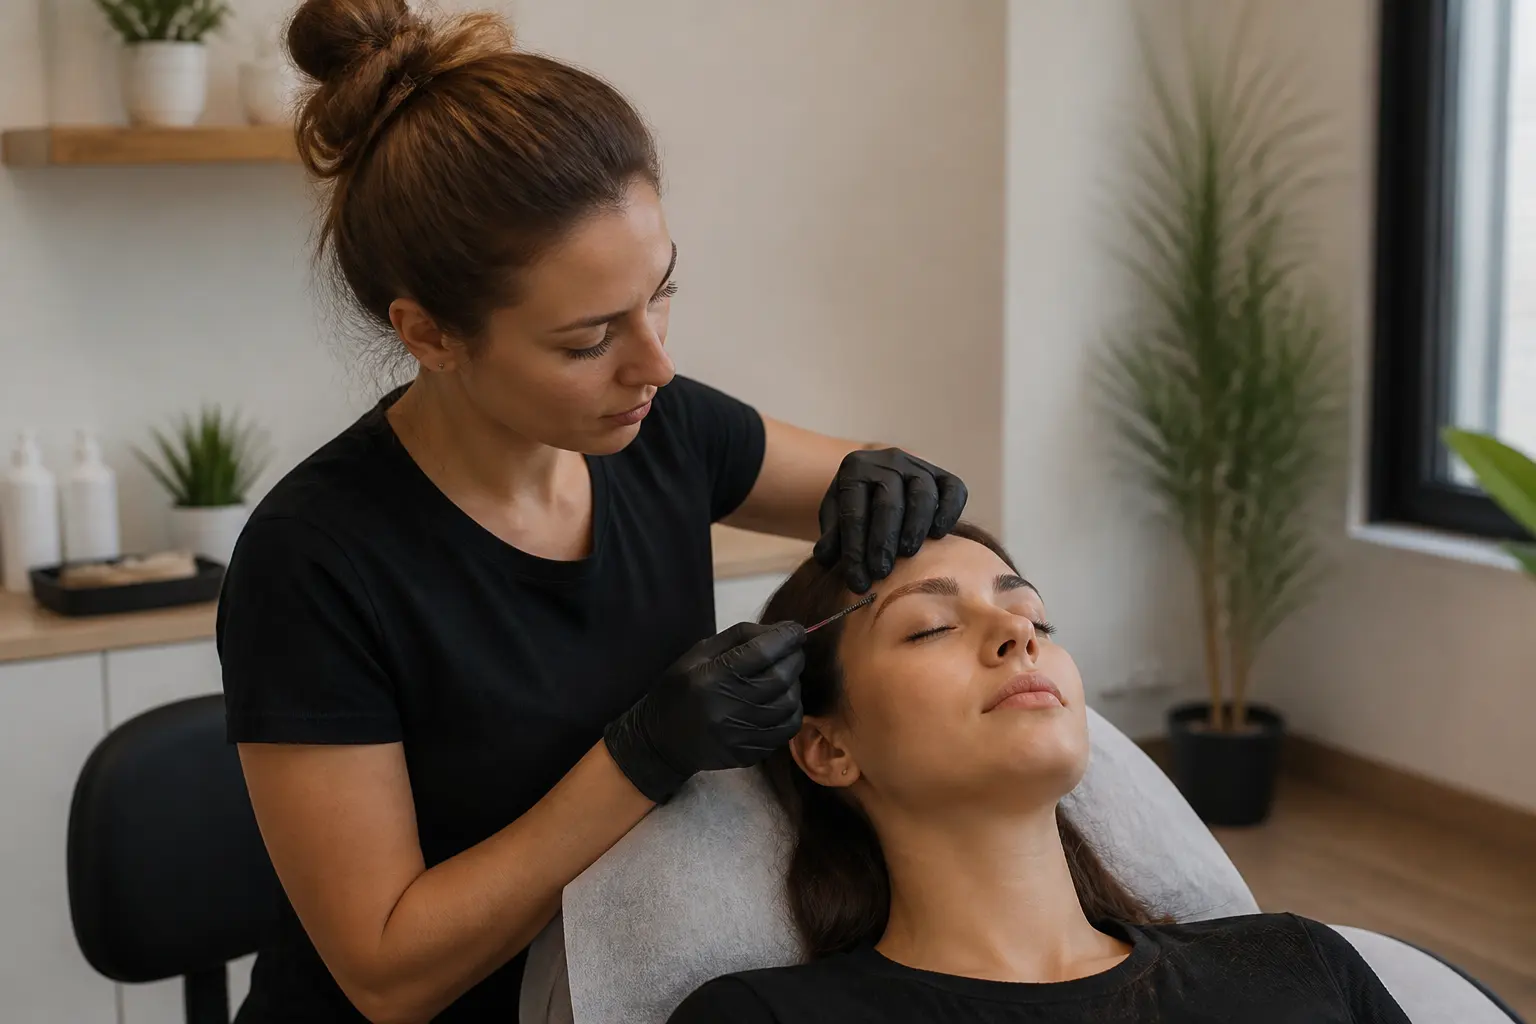
Usually, there is a stage that helps the hairs become more flexible, followed by a stage that supports their new placement. The brows are brushed and checked along the way. You may be asked to keep your eyes comfortably closed while the artist works close to the eye area, and to let them know straight away if you feel unexpected stinging, strong heat or discomfort.
The result is not meant to feel stiff or look painted onto the skin. When brow lamination is planned carefully, it can make your natural brow hairs easier to style while preserving a believable, personalised shape.
Step 6: refining the shape, only where appropriate
Depending on what you have booked and what was agreed in consultation, your artist may refine visible hairs around the brow shape. At Becammo, threading is a precise option for brow design. It uses a single-use thread to remove selected hairs and can help bring definition to the finished lamination look.
However, shaping is not automatically about removing more hair. Sometimes the best choice is to preserve growth while the brow hairs are being encouraged into a more flattering direction. If you are growing out over-plucked brows or want to maintain fullness, tell your artist. A thoughtful plan can focus on tidiness without taking away the hairs you want to keep.
Colour enhancement, such as tint or henna, is also a separate decision. It may suit someone who wants extra definition, but it is not essential for a successful brow lamination appointment. The right combination depends on your brow hairs, skin, preferred make-up level and the look you want to maintain at home.
Step 7: the final brush-through and mirror check
Near the end of the appointment, the artist gently brushes the brows into their finished position and checks the overall balance. This is your moment to look closely in the mirror and talk about the result. Do you prefer the fronts slightly softer? Would you like the tail brushed a little flatter? Is the lift in keeping with how you normally wear your brows?
Small refinements can make a significant difference. The goal is not mathematical symmetry, because natural brows are sisters rather than identical copies. The goal is a balanced shape that respects your features and feels like you.
Step 8: aftercare advice before you leave
Before you leave, your artist should explain how to look after your brows during the initial settling period. Follow the specific guidance you receive, as aftercare can vary with the professional products used and with any additional services performed during the same visit.
In general, the first part of aftercare is about leaving the brow hairs undisturbed. Avoid rubbing, pressing or repeatedly brushing them into different directions. Be mindful of water, steam, heat and oil-rich products around the brow area for the period recommended by your artist. If you have booked another beauty service, ask about the best order and timing so that aftercare instructions do not conflict.
Once you are able to resume your usual routine, a clean spoolie can help you style your brows in the direction you like. Brush with a light hand rather than pulling at the hairs. If you use brow make-up, choose it for definition rather than to disguise the result. Many clients find that lamination simplifies their morning routine, but how much product you use remains entirely personal.
What your brows may look like over the following days
Freshly laminated brows can look more dramatic immediately after the appointment because every hair has been positioned neatly and the finish is new. As you return to your normal routine, the look often becomes more familiar and relaxed. You can choose a more lifted style on some days and a softer brushed-over finish on others.
How long the effect appears to last varies from person to person. Your natural hair cycle, hair texture, skincare routine, exposure to water and heat, and how you style your brows all play a role. Rather than relying on a promise, treat the appointment as a way to see how your own brows respond and then discuss a suitable maintenance rhythm with your artist.
When to contact your artist or seek further advice
If something does not feel right after your service, contact the studio promptly and explain what you are experiencing. Clear communication helps the team advise you on the appropriate next step. If you develop a significant reaction, swelling, blistering, worsening pain or another concerning symptom, seek medical advice without delay.
For future appointments, make a note of the products and services you have used and any reactions you have had. This information can be useful both for your brow artist and, where needed, for a healthcare professional.
Is brow lamination the right next step for you?
A brow lamination appointment can be a lovely choice if you want to make the most of your natural hairs, create a more lifted direction or reduce the time you spend trying to brush unruly brows into place each morning. The most satisfying results usually come from a clear consultation, careful technique and realistic expectations.
If you are ready to explore a finish that suits your own brow pattern, book a brow lamination appointment with Becammo and choose the Malta location that is most convenient for you. If you have questions about suitability, previous sensitivity or the look you are hoping to achieve, ask them before you book. A good brow plan starts with an honest conversation.
Frequently asked questions
How long does a brow lamination appointment take?
At Becammo, brow lamination is listed as a one-hour service. Your appointment includes time for consultation, preparation, the lamination stages, final styling and aftercare guidance.
Does brow lamination include threading?
Not necessarily. Brow shaping and hair removal should be discussed as part of your plan, based on the service you have booked and the amount of refinement you want. Threading can be a precise option when shape work is appropriate.
Can I wear brow make-up after lamination?
Ask your artist for the exact timing based on the products used during your session. Once you can return to your usual routine, use make-up gently and avoid scrubbing the brow area when removing it.
Will laminated brows look too bold on me?
They do not have to. Brow lamination can be styled in a soft, natural direction rather than an exaggerated upright look. During consultation, show your artist the level of definition you feel comfortable wearing.
Can I book brow lamination if I have sensitive skin?
Tell the studio about sensitivity, allergies, past cosmetic reactions and any current irritation before booking. The artist can explain whether a patch test, a different plan or postponing the service is the most sensible option.