Brow Lamination Aftercare Week by Week: What to Expect
Brenda Cammo Team
Brow lamination can make natural hairs look more lifted, brushed-up and easier to style, but the appointment is only the start of the experience. What you do in the first day, and how gently you care for your brows in the weeks that follow, can influence how neat, soft and manageable they look.
This brow lamination aftercare week-by-week guide explains what normally happens from the setting stage through to the gradual relaxation of the result. Every set of brows is individual, so the exact timing can vary with your natural hair texture, growth cycle, home routine and the look you choose each morning. Your brow artist’s personalised instructions should always come first.
The quick timeline after brow lamination
- First 24 hours: Let the brows set. Keep them dry and avoid steam, sweat, makeup and unnecessary touching.
- Days 2 to 7: Begin a gentle routine. Brush the hairs into place without pulling, and keep strong skincare away from the brow area.
- Week 2: The brows often look settled and easier to arrange. Daily styling becomes simple and more natural-looking.
- Weeks 3 and 4: The lifted direction is still present for many people, although new hairs and individual growth patterns become more noticeable.
- Weeks 5 and 6: The laminated effect usually starts to soften further as hairs naturally shed and regrow.
- Afterwards: Your brows gradually return towards their usual pattern. A professional brow appointment can help you decide whether and when to book again.
First 24 hours: the setting stage
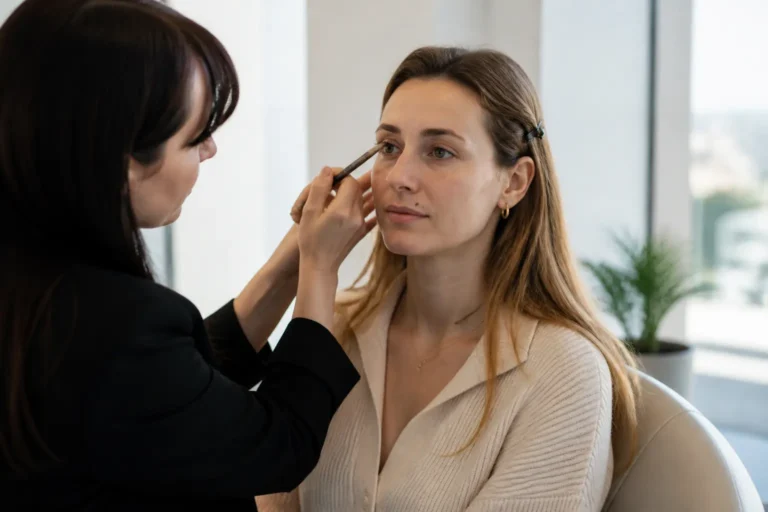
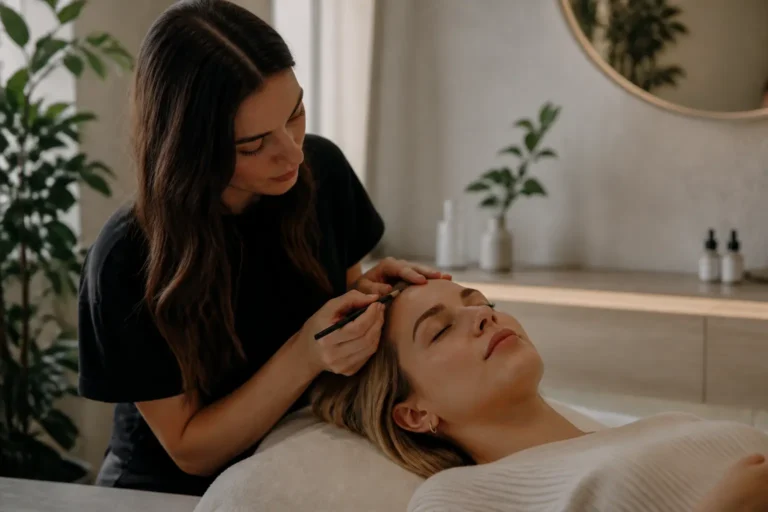
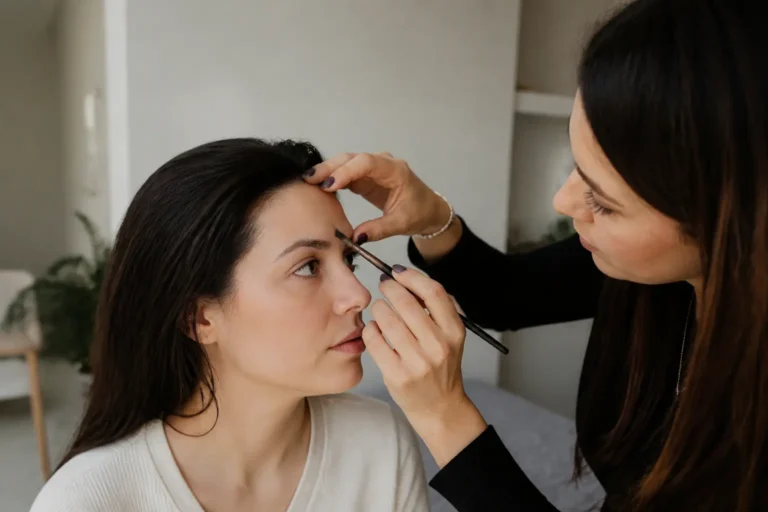
The first day is the most important part of brow lamination aftercare. During your professional appointment, the brow hairs are softened, directed into the chosen shape and set. Immediately afterwards, they may appear especially sleek, defined or upright. This is normal, particularly if you are used to a softer, more natural brow direction.
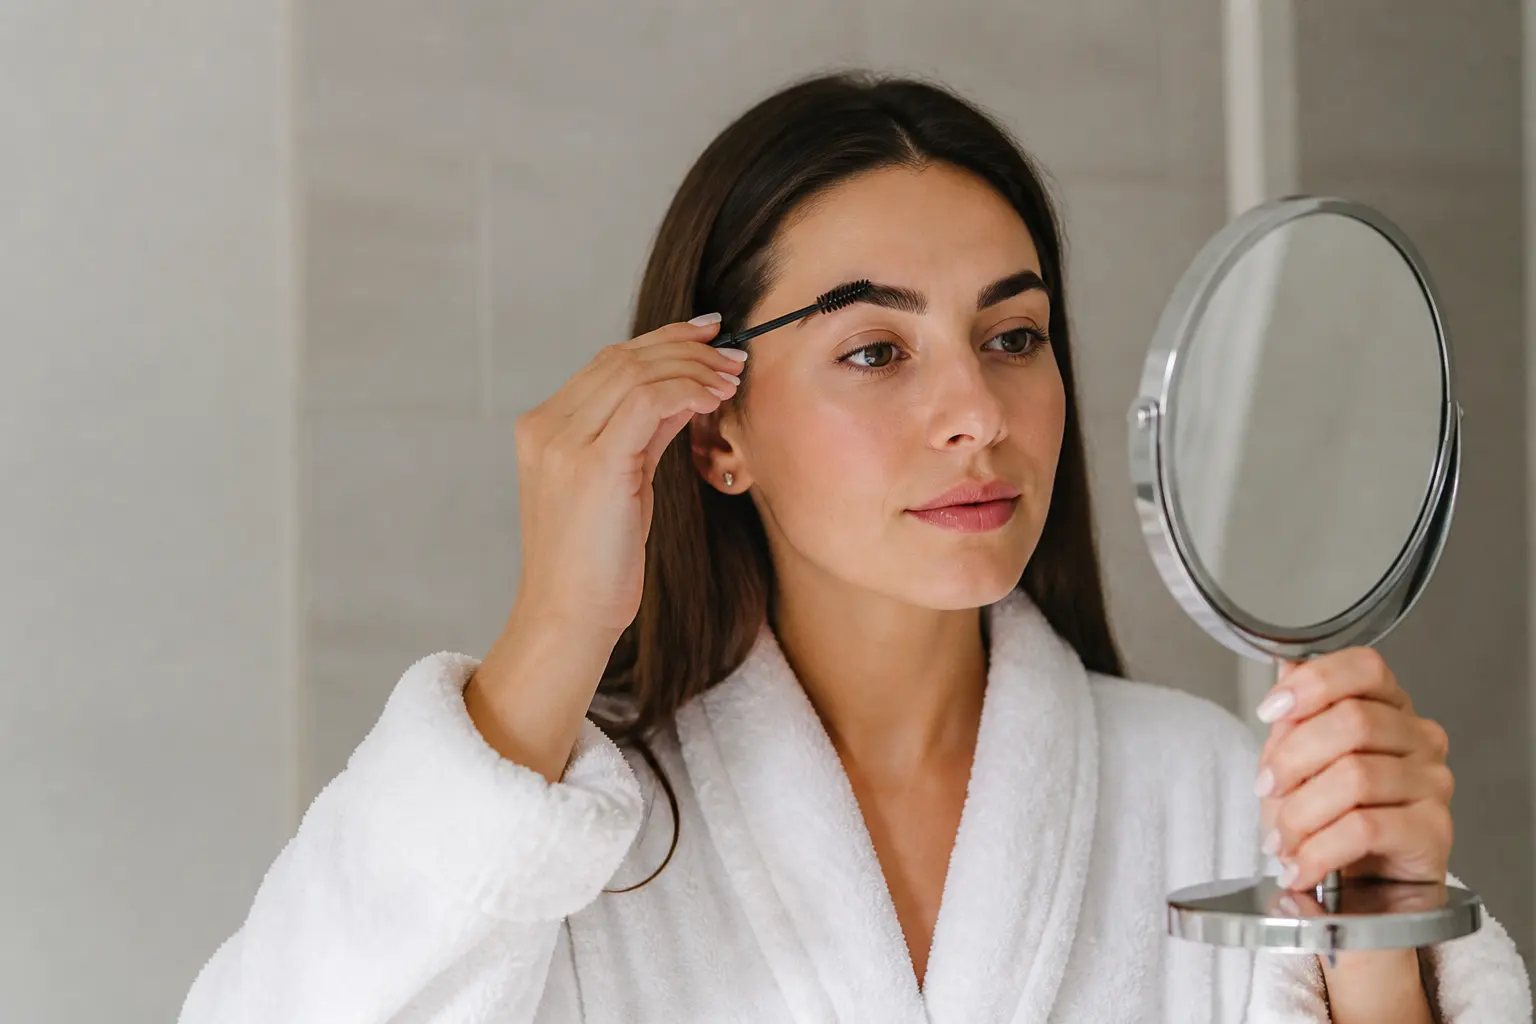
For the first 24 hours, treat your brows as gently as possible. The aim is to avoid disrupting the freshly set direction while the result settles.
What to avoid on the first day
- Getting the brow area wet when washing your face or showering.
- Steam from long hot showers, saunas or steam rooms.
- Swimming, including pool or sea swimming.
- Intense exercise that is likely to cause heavy sweating around the face.
- Brow makeup, especially products that require rubbing to remove.
- Oily cleansers, balms or heavy skincare directly over the brows.
- Touching, rubbing or repeatedly checking the hairs with your fingers.
If possible, plan your appointment around activities such as beach days, swimming sessions or a very intense gym class. This can be especially useful in Malta, where warm weather and outdoor plans can make steam, perspiration and water exposure harder to avoid.
How to wash your face without soaking the brows
You do not need to ignore the rest of your skincare routine. Instead, cleanse carefully around the brow area. Use a gentle approach, avoid splashing water directly over the brows and pat the face dry rather than rubbing with a towel. If you are unsure whether a particular product is suitable, pause it around the brows for the first day and ask your brow artist for guidance.
Sleeping after brow lamination
Try not to sleep with your face pressed firmly into a pillow during the first night. Side or front sleeping can place pressure on the hairs and leave them sitting in an awkward direction when you wake up. You do not need to create a perfect sleeping arrangement, but being mindful for that first night can make the morning easier.
Days 2 to 7: gentle styling and a softer finish
Once the first 24 hours have passed, your brows should feel less like they need protecting from every drop of water. You can return to your usual face-washing routine, but the key is still gentleness. Laminated brows are designed to be easier to style, not to be scrubbed, flattened or overloaded with product.
This is also the point when many clients begin to see the result they enjoy most. The very freshly groomed look softens, and you can brush the hairs into a lifted but more personalised shape. Some people prefer a bold brushed-up finish. Others like the fronts of the brows lifted lightly, with the tails combed across for a balanced outline.
Your simple daily brow routine
- Make sure the brow area is clean and dry after cleansing.
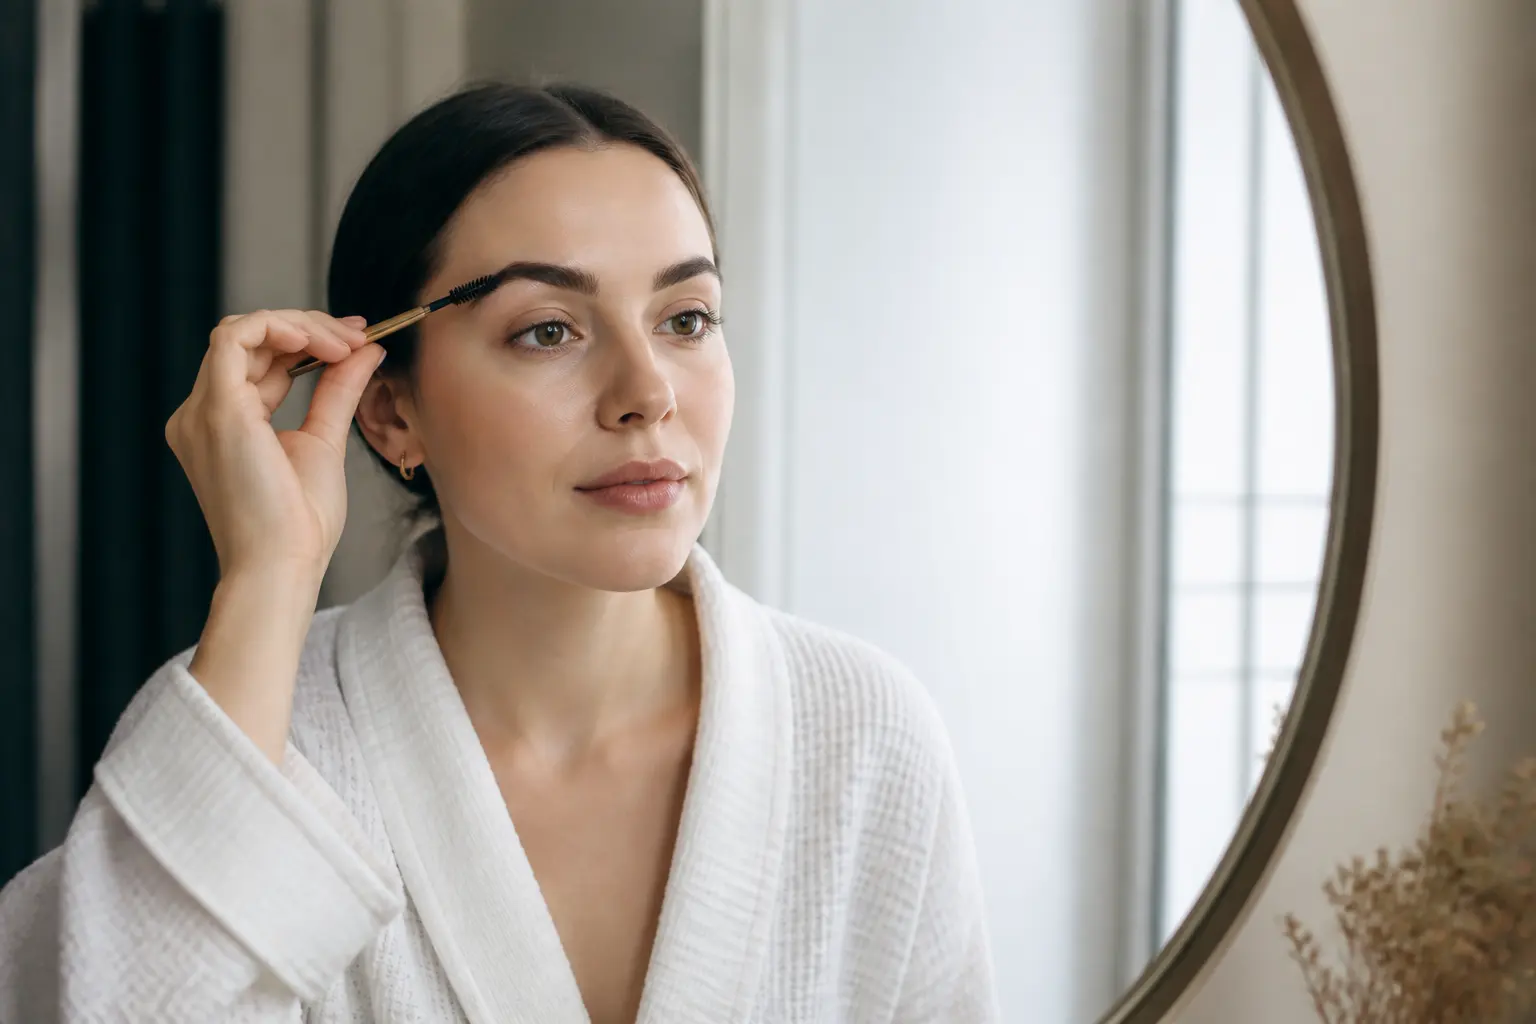
- Use a clean spoolie to brush the hairs gently into your preferred direction.
- Start with light pressure. There is no need to pull the hairs sharply upwards.
- If you use a brow product, choose a light touch rather than layering several holding products.
- Remove makeup at the end of the day without vigorous rubbing.
A clean spoolie is often all you need. If your artist has recommended a conditioning product that suits your brows, use it as advised. More product is not always better. Heavy oils or repeated layers of waxy styling products can make the hairs look weighed down, attract residue or make cleansing more difficult.
Be careful with active skincare around the brows
Strong exfoliating products and active skincare can be useful in a broader routine, but the brow area deserves extra care after lamination. Avoid applying exfoliating acids, retinoids or other potentially irritating products directly through the hairs unless a qualified professional who knows your routine has advised you otherwise. When applying face products, leave a small buffer around the brow line and wash your hands before styling your brows.
This is not about avoiding skincare altogether. It is about keeping the recently treated brow hairs and surrounding skin from unnecessary friction or product build-up.
Week 2: enjoying the most manageable stage
For many people, week two is when brow lamination feels most effortless. The hairs have settled, the initial intensity has eased and the brows are often much easier to direct than they were before the appointment.
You may notice that you need less brow pencil, powder or gel because your natural hairs create more of the visual structure. That does not mean every brow needs to look big or dramatically upright. A professional lamination should support the brow shape that suits your features, hair density and personal style.
How to style laminated brows naturally
A natural-looking laminated brow is usually about direction rather than height. Brush the inner brow hairs up and slightly outwards. Then guide the middle section across and upwards, following your natural arch. At the tail, brush hairs in the direction they naturally want to lie rather than forcing them vertically.
If you have fine brow hairs, a soft brush-through can create a fuller-looking effect without making the brows look stiff. If your hairs are coarse, wiry or grow in several directions, use the spoolie to guide them gradually rather than repeatedly pressing them flat. The right finish is the one that looks intentional but still feels like you.
Can you wear brow makeup in week two?
Usually, brow makeup can return to your routine after the initial setting period, provided you apply and remove it gently. You may find that you need less product than before. If you want added definition, use light, hair-like strokes only where there are natural gaps, then brush through to blend.
Avoid treating brow makeup as a way to force the hairs into a new direction. Lamination makes styling easier, but a very strong hold product can create a rigid finish and may require more rubbing to remove later.
Weeks 3 and 4: maintaining shape as natural growth continues
By weeks three and four, the brow lamination effect may still be clearly visible, but it can begin to look different from the first fortnight. This is expected. Brow hairs have their own growth cycle, and new hairs will continue to appear in their natural direction. Your existing hairs may also become less responsive to a quick brush-through than they were in week two.
This does not automatically mean the lamination has failed. It is simply the point where your natural brow pattern starts to play a bigger role again. Continue brushing the hairs gently after cleansing, and consider whether your preferred styling direction needs to become slightly softer.
Signs your brows are naturally relaxing
- The hairs no longer stay as upright without a quick brush-through.
- The front of the brow looks softer than it did in the first two weeks.
- New growth appears in a different direction from the laminated hairs.
- You reach for a small amount of brow makeup more often to define sparse areas.
- The brow shape still looks neat, but the dramatic lift has reduced.
These changes are part of the normal transition. Resist the temptation to over-style the hairs with very firm products or repeated brushing. The aim is to keep them looking well cared for as the original effect gradually softens.
Weeks 5 and 6: the full relaxation phase
In the later weeks, brow lamination generally becomes subtler. Some hairs will have shed naturally and been replaced by new growth, while others may sit closer to their original direction. The precise point at which this happens differs from person to person, which is why it is best to think of brow lamination as a flexible beauty routine rather than a fixed timetable.
At this stage, your brows may still look more manageable than before, but the full lifted finish is likely to be less pronounced. You can continue with gentle cleansing, careful makeup removal and light styling. If your brow hairs feel dry, unruly or less easy to direct, do not try to correct that with another chemical service at home.
When should you consider another appointment?
The right time to rebook depends on how your own hairs look and feel, your desired finish and your brow artist’s assessment. It is better to book based on the condition of the brow hairs than to follow an arbitrary calendar date. During a professional appointment, your artist can look at new growth, hair texture and your previous result, then advise whether another lamination is appropriate or whether a shaping appointment would be more useful first.
For some clients, a threading and design appointment between laminations is a helpful way to keep the outline tidy while allowing the brow hairs to follow their natural cycle. This is particularly valuable when uneven new growth begins to change the overall shape.
What if your brows look too bold at first?
A very lifted brow can feel surprising if it is your first lamination or if you normally wear your brows softly defined. Give the result time to settle, especially during the first 24 to 48 hours. Once you can cleanse normally, a gentle brush can help you find a direction that feels more familiar.
Do not soak, scrub or aggressively brush your brows in an attempt to make the effect disappear. If you are unhappy with the shape, feel unusual dryness or notice anything that concerns you, contact the studio that carried out the service. A professional can advise you based on the products used, your brow hair type and how recently the appointment took place.
Make your next brow lamination easier to care for
The best aftercare starts before you leave the studio. Tell your brow artist about the finish you prefer, whether you like a soft everyday brow or a more editorial brushed-up look. Mention your usual skincare routine, frequent swimming, holiday plans or any sensitivities you think may be relevant. These details help your artist tailor the advice to your lifestyle.
At Becammo, brow services are approached with individual brow direction, density and facial balance in mind. A good result is not about copying one fixed shape. It is about creating a lifted, polished look that remains easy for you to wear through the full brow lamination cycle.
Conclusion
Brow lamination aftercare is most demanding during the first 24 hours, then becomes a matter of gentle cleansing, light daily brushing and realistic expectations as the result softens week by week. Give your brows time to settle, avoid overworking them and let your natural growth pattern guide when it is time to book again.
If you are considering brow lamination in Malta, or want personalised advice on maintaining your current result, choose the Becammo location in Sliema or Swieqi that suits you and book a professional brow appointment online.
Frequently asked questions
Can I wash my face after brow lamination?
Yes, but avoid getting the brows wet during the first 24 hours. Cleanse carefully around them, then return to your normal gentle cleansing routine once the setting period has passed.
How should I brush laminated brows?
Use a clean spoolie with light pressure. Brush the inner hairs upwards and slightly outwards, then guide the middle and tail in a direction that follows your natural brow shape.
Why do my brows look less lifted after a few weeks?
The effect naturally softens as brow hairs follow their individual growth cycle and new hairs emerge in their usual direction. The pace varies between people and does not necessarily indicate a problem.
Can I use retinol near laminated brows?
It is sensible to avoid applying strong active skincare directly over the brow area after lamination. If you use retinoids or exfoliating products regularly, ask your brow artist how to adapt your routine around the appointment.
Can I swim after brow lamination?
Wait until the first 24-hour setting period has passed before swimming. Afterwards, rinse and cleanse gently as appropriate, avoiding harsh rubbing of the brow area.
What should I do if my laminated brows feel dry or look uneven?
Do not attempt another chemical treatment at home. Contact your brow artist for individual guidance, particularly if the appointment was recent or the brow hairs do not feel as expected.