Microblading Healing Timeline Day by Day: Flaking, Fading and Final Colour
Brenda Cammo Team
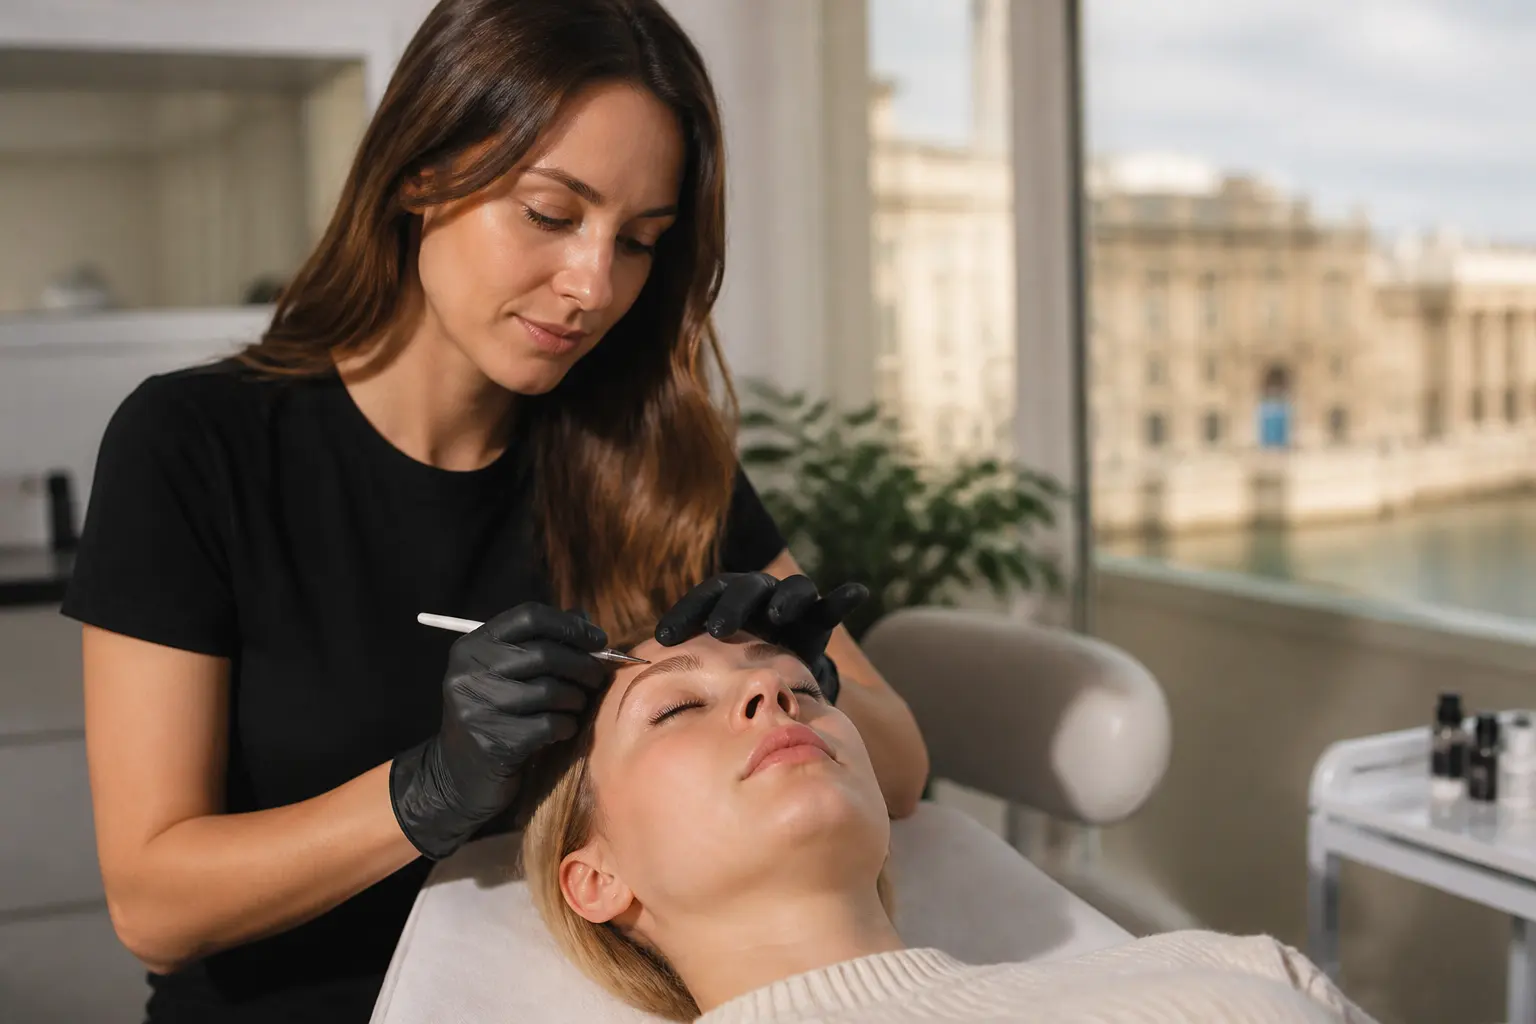
It is completely normal to look closely at your brows after microblading and wonder whether each change is expected. In the first few weeks, the colour may look darker than anticipated, small flakes may appear, and the brows can seem much lighter before the pigment settles. This microblading healing timeline day by day explains the usual pattern in clear terms, so you can plan your routine with more confidence.
Every skin type and every set of brows heals differently. Your artist’s written aftercare instructions should always come first, because they are based on the technique used, your skin assessment and the products recommended for you. Microblading is a form of semi-permanent make-up in which pigment is placed in the skin to create fine, hair-like strokes. As with other forms of permanent make-up, it involves a healing process and should be approached with thoughtful hygiene and aftercare. The FDA’s permanent make-up guidance also highlights the importance of understanding potential reactions and choosing hygienic professional practice.
At a glance: the microblading healing timeline
| Stage | What you may notice | What matters most |
|---|---|---|
| Days 1 to 3 | Brows can look darker, sharper and more defined | Keep to your artist’s aftercare plan and avoid touching |
| Days 4 to 10 | Dryness, light scabbing or flaking can appear | Do not pick, scratch or pull away flakes |
| Days 10 to 21 | Colour may look very soft or temporarily patchy | Be patient while the skin continues settling |
| Weeks 4 to 6 | Colour and strokes become easier to assess | Discuss any planned touch-up with your artist |
These timeframes are a guide, not a promise. Skin behaviour, lifestyle, previous brow work, sun exposure, skincare and how closely aftercare is followed can all affect what you see from one week to the next.
Days 1 to 3: why new microblading can look bold
Immediately after your appointment, the brow area may look more defined than the final healed result. The pigment is fresh, the skin has been worked on, and any natural redness around the brow can increase the contrast. Fine hair strokes may look darker, warmer or more intense than you expected from the consultation.
This early appearance is not the final colour. It is best not to judge whether the shade is too strong on the first day. Avoid repeatedly checking the brows in different lighting, rubbing them with a towel or adding brow make-up to alter their appearance. If you have a question, take a clear photo in natural daylight and contact the studio rather than trying to correct the look yourself.
What to prioritise in the first 72 hours
- Follow the cleansing and product instructions given by your artist exactly.
- Keep hands away from the brow area unless your aftercare plan requires otherwise.
- Avoid make-up, exfoliants and unapproved skincare directly on the brows.
- Plan around activities that may leave you very sweaty or expose the area to excessive moisture.
- Protect the brows from unnecessary friction, including tight headwear resting on the area.
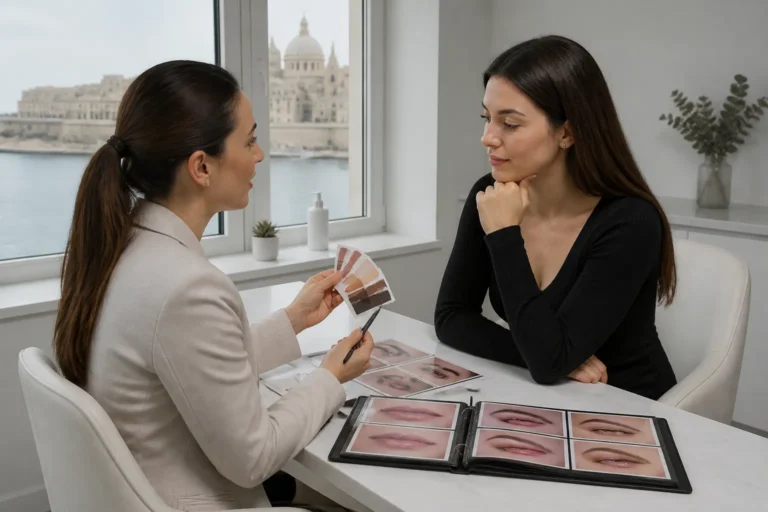
It is also sensible to tell your artist about relevant skin concerns, allergies, previous permanent make-up and any products you use before the appointment. A professional consultation is the right time to discuss whether microblading is suitable for your individual circumstances.
Days 4 to 7: dryness and early flaking
For many clients, this is when the brows begin to feel drier and may start to flake. The flakes can be fine and light, or they may resemble small, dry pieces of skin. Some areas can shed earlier than others, which may make one brow look temporarily less even.
The most important rule at this stage is simple: do not pick. Pulling at a flake before it is ready to come away can disturb the healing surface and may affect how evenly the pigment appears later. Let the brow area progress at its own pace, even if the texture is tempting to touch.
Flaking is different from a concerning reaction. Mild dryness and small flakes can be part of normal healing. However, worsening pain, pronounced heat, spreading redness, marked swelling, discharge, fever or feeling unwell should not be treated as routine aftercare. Seek prompt advice from an appropriate healthcare professional, and let your artist know. University College London Hospitals’ aftercare information similarly advises prompt medical assessment for possible infection signs.
Days 7 to 10: the “too light” stage
After flakes begin to lift away, many people feel surprised by what they see. The colour can appear much lighter than it did on day one, and some strokes may seem faint, cool or as though they have disappeared. This is often the stage that creates the most worry.
Temporary fading does not automatically mean that the pigment has failed to retain. While the surface is renewing, the colour can be less visible. It can take time for the skin to settle and for the healed tone to become clearer. Trying to fill in apparent gaps with brow pencil, tinting products or at-home pigment tools is not a good shortcut during this period.
Early darkness, flaking and a lighter-looking phase can all be part of the same healing journey. The clearest time to assess the result is after the skin has had time to settle.
This is why a planned review or touch-up is not simply an extra appointment. It gives the artist an opportunity to see how your own skin has retained the pigment and to discuss balance, density and any areas that may need refinement. At Becammo, microblading touch-up appointments are planned around the healing period rather than rushed while the brows are still changing.
Days 10 to 14: colour can look patchy
During the second week, one area may appear stronger than another. You may notice that the front of a brow looks softer, the tail looks clearer, or individual strokes seem to return gradually. This uneven appearance can be unsettling, especially if you are comparing your brows closely every day.
Remember that brows are sisters, not identical copies. Natural facial asymmetry, hair growth patterns and differences in skin condition from one side to the other can influence the healing appearance. A professional artist maps and designs the brows to create balance, but healing is still individual to each side of the face.
Continue to avoid anything your artist has asked you to pause, such as strong active skincare near the brow area. If you are unsure whether one of your usual products is appropriate, ask before applying it. This is especially helpful for clients with established routines involving exfoliating acids, retinoids or other potent cosmetic ingredients.
Weeks 3 to 4: colour starts to settle
By the third and fourth weeks, the brows often begin to look more recognisable as healed microblading. The colour may become more visible again after the lighter phase, although it will usually look softer than the fresh result. Hair strokes should blend more naturally with your own brow hairs, rather than having the very crisp, high-contrast look seen immediately after the appointment.
“Final colour” does not mean one universal shade that looks the same on every person. Healed colour is influenced by your natural skin tone, skin type, the selected pigment, existing brow hair and aftercare. The aim is a personalised result that works with your features and desired level of definition.
In Malta, everyday sunshine is another practical point to discuss. Once your artist confirms that the area has healed, appropriate sun protection around the brows can be part of caring for the look over time. Do not apply products on healing brows simply because they are part of your usual holiday or summer routine. Ask first.
Weeks 4 to 6: assessing the healed result and touch-up
This is generally the more useful window for assessing retention and healed colour. You and your artist can look at the overall brow shape, whether the strokes suit your natural hair pattern, how soft or defined the result feels, and whether any areas need adjustment. A touch-up can address details that cannot be judged fairly while the skin is flaking or temporarily faded.
Bring specific observations to that conversation. For example, you might say that you love the shape but would prefer a little more definition through the tail, or that one small area has healed more softly. Clear feedback helps the artist understand your preferences without assuming that a stronger result is always the right answer.
Microblading is not a fixed, permanent brow colour that never changes. Over time, fading can occur and maintenance needs differ. Factors such as skin behaviour, sun exposure, skincare habits and personal preferences can influence when you wish to discuss a future top-up.
How to make the healing period easier to manage
Plan the appointment around your diary
If possible, avoid booking immediately before a beach holiday, an important event or a period when you know you cannot follow aftercare carefully. The first two weeks can bring visible changes, so giving yourself breathing room is kinder to both your skin and your expectations.
Take photos, but avoid constant comparison
A photo every few days in similar natural lighting can be more helpful than checking the brows hourly. It gives you a clearer view of gradual change and makes it easier to explain a genuine concern to your artist.
Keep questions for your artist, not social media trends
Aftercare videos can be confusing because routines vary by technique, artist and client. What worked for someone else may not be appropriate for your brows. Your own aftercare instructions are the useful reference point.
Choose a studio with hygiene and consultation at the centre
Good healing starts before the appointment. Permanent make-up involves breaking the skin barrier, which is why hygiene practices, suitable materials and clear aftercare guidance matter. Government guidance on tattooing also emphasises infection prevention and control in professional practice. Read the UK Government’s tattooing infection prevention guidance.
Frequently asked questions
When does microblading stop flaking?
Flaking often happens during the first week or so, but the exact timing varies. Do not pull flakes away. If you are concerned by the appearance or have symptoms beyond ordinary dryness, contact your artist for guidance.
Why has my microblading gone very light after flaking?
A lighter-looking stage can happen while the skin is settling. It is too early to judge the retained colour immediately after flakes lift. Wait for the healing period and planned review before assuming the result needs correction.
When will I see the final microblading colour?
The brows are usually easier to assess after several weeks, often around the time a touch-up can be discussed. Your individual healing process may be faster or slower, so your artist’s assessment is more useful than a rigid calendar date.
Can I wear brow make-up while microblading is healing?
Follow the aftercare instructions from your artist. In general, avoid applying products directly to healing brows unless they have been specifically recommended for your plan.
Is uneven healing between the two brows normal?
It can happen. Each side of the face may have different skin condition, natural hair density or everyday friction. A professional review is the right setting to assess whether anything needs refining.
When should I seek medical advice after microblading?
Seek prompt medical advice for symptoms such as increasing pain, spreading redness, significant swelling, heat, discharge, fever or feeling unwell. These are not concerns to manage with cosmetic advice alone.
Conclusion
The microblading healing timeline is rarely a straight line. Darker brows at the start, flaking, a temporary faded stage and gradual colour settling can all occur before the healed look is ready to assess. Patience and careful aftercare protect the work better than trying to speed up the process.
If you are considering Brazilian Microblading in Malta, or you have questions about healing, skin suitability and what to expect after your appointment, book with Becammo and choose the Sliema or Swieqi location that works best for you. A professional conversation before and after the service can make the process feel much more straightforward.