Wearing Make-up After Microblading: A Gentle Return Timeline
Brenda Cammo Team
Microblading can make your everyday brow routine feel much simpler, but the days immediately after your appointment are not the moment to test a full make-up look. Your freshly pigmented brows need calm, careful aftercare while the skin settles. Knowing when and how to bring cosmetics back into your routine helps you plan workdays, dinners, holidays and special occasions with more confidence.
The central rule is straightforward: follow the personalised aftercare given by your artist, and keep make-up away from the brow area until it has healed. Timings are not identical for every person, because skin behaviour, the technique used, your lifestyle and the way your brows heal can all differ. Still, a gentle timeline gives you a useful framework for deciding what is sensible each day.
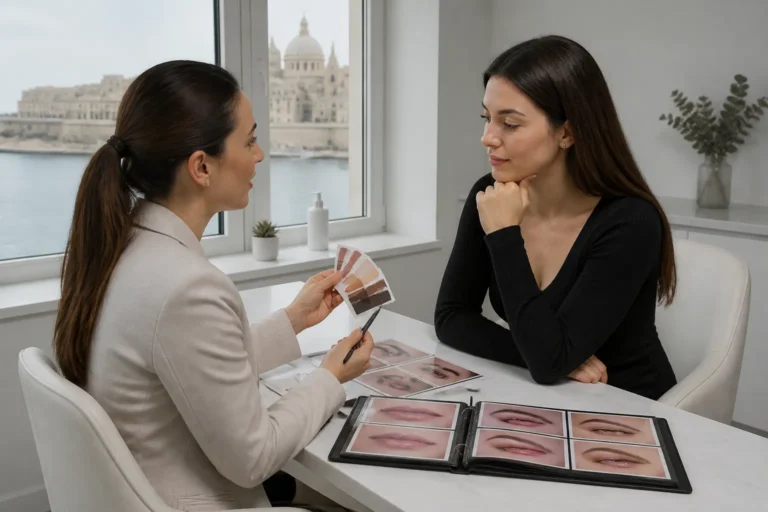
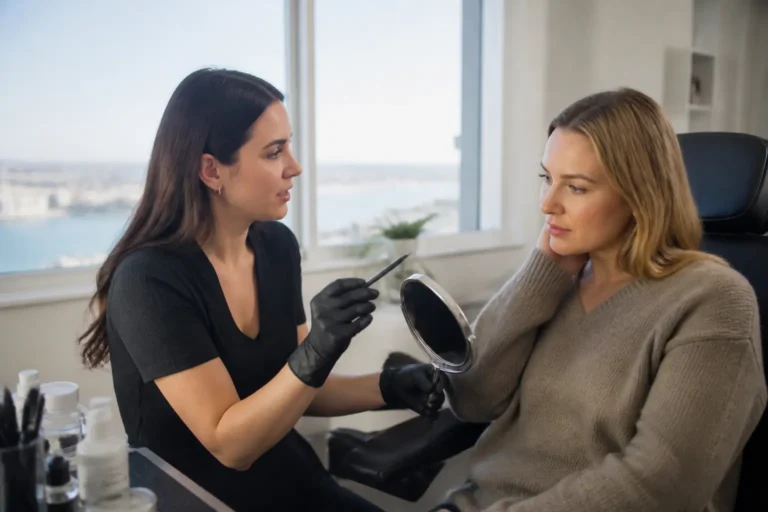
At a professional studio, aftercare is not an afterthought. It is part of the overall service. Your artist should explain how to care for the area, what changes may be expected as the brows settle and when to get in touch if something does not seem right. Written aftercare guidance is widely recognised as good practice for tattooing and cosmetic procedures. Bristol City Council guidance also highlights the value of receiving written aftercare advice from the practitioner.
Why make-up needs a pause after microblading
Microblading places pigment into the upper layers of the skin to create fine, hair-like strokes. Although the finished result is designed to look soft and natural, the immediate post-appointment period involves a healing process. Cosmetics, brushes, sponges and fingers can introduce unnecessary friction or leave product on an area that should be kept clean and undisturbed.
This does not mean you must avoid all make-up for weeks. It means that the eyebrow area needs its own rules. A carefully applied lip colour or mascara may be very different from foundation blended across the forehead, brow pencil drawn over the strokes, or a powder brush repeatedly sweeping over the brow bone.
There is another practical reason to pause: your brows can look deeper in colour straight after the session, then appear to soften as they settle. Covering them too soon with brow products can make it harder to observe the natural healing changes and may tempt you to alter the shape before the result has had time to develop.
The gentle return timeline for make-up after microblading
Think of the following as a planning guide rather than a replacement for your individual instructions. If your artist gives you a different timeframe, their advice takes priority.
Day 0 to Day 2: keep the brow area completely product-free
For the first 48 hours, the simplest approach is usually the best one. Do not apply brow pencil, powder, gel, concealer, foundation, tinted moisturiser, highlighter or skincare directly on or immediately around the treated area unless your artist has specifically advised otherwise.
Even products that seem light or familiar can be difficult to apply without touching the brows. Foundation often travels further than expected when it is blended towards the hairline, and setting powder can settle into the brow area. Save yourself the worry and give your face a more minimal routine for these first days.
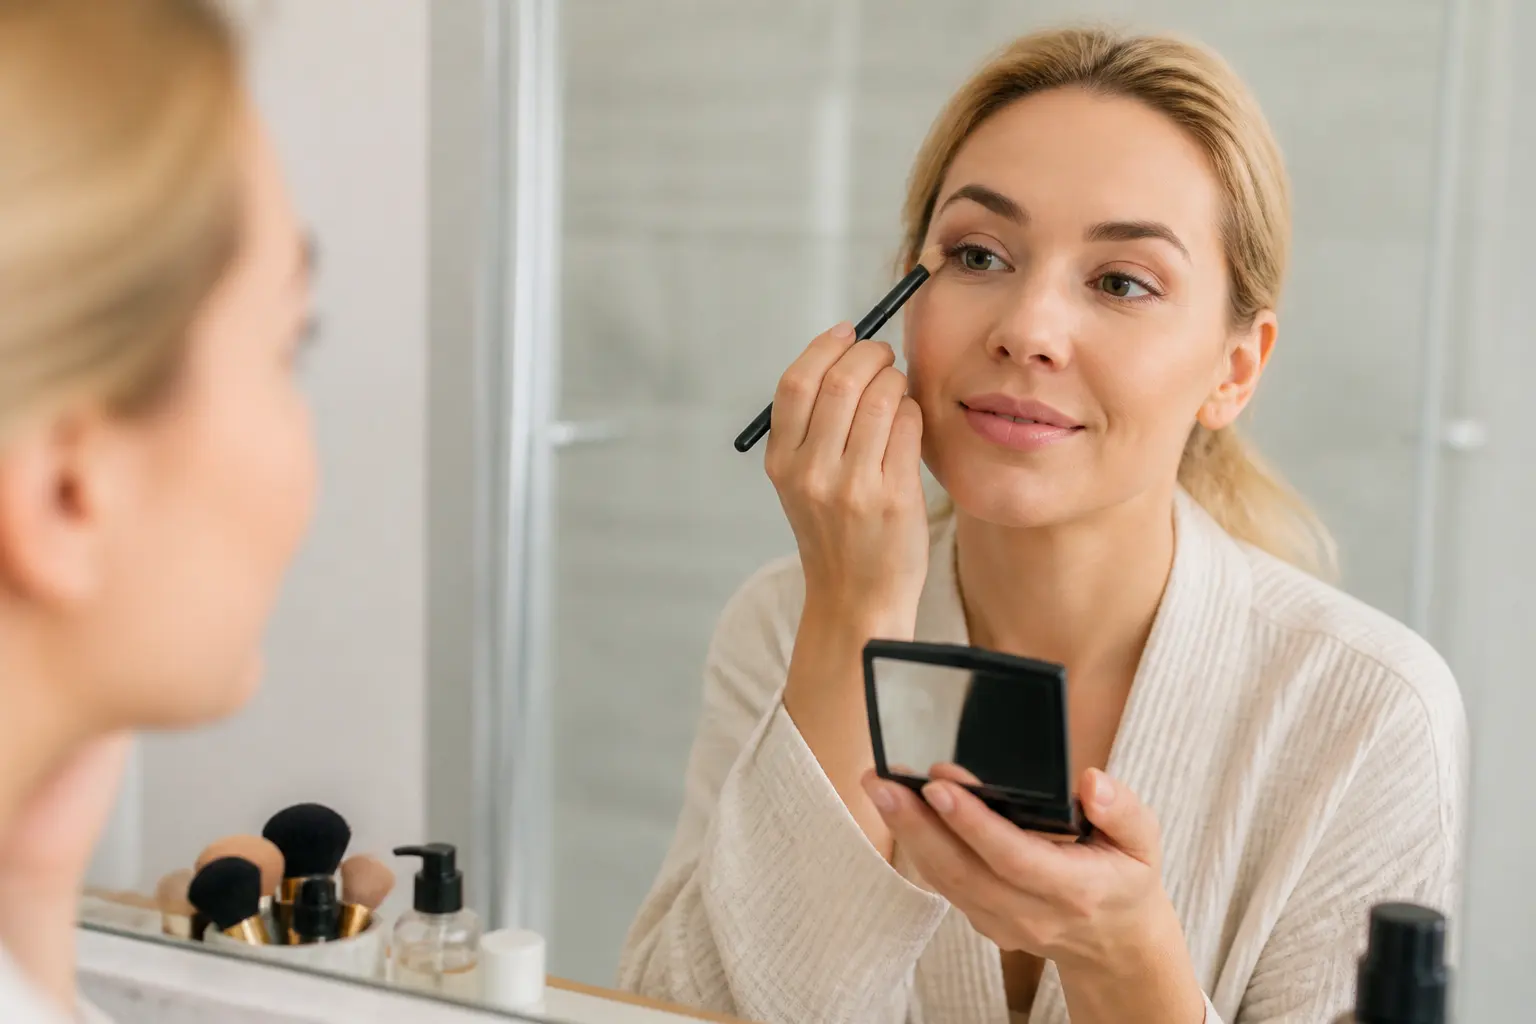
If you need to look polished for work or an event, focus attention elsewhere. A clean base applied well away from the upper forehead, mascara, a soft eye look that does not reach the brow bone and lipstick can still feel put together. Use clean tools, wash your hands first and leave a generous buffer around each brow.
Day 3 to Day 7: make-up elsewhere, caution near the forehead
As the brows begin to settle, some people notice mild dryness, tightness or flaking. It can be tempting to cover this stage, especially if you are used to perfectly groomed brows every morning. Resist the urge to fill, outline or conceal them. Do not scratch, rub or pick at any flakes.
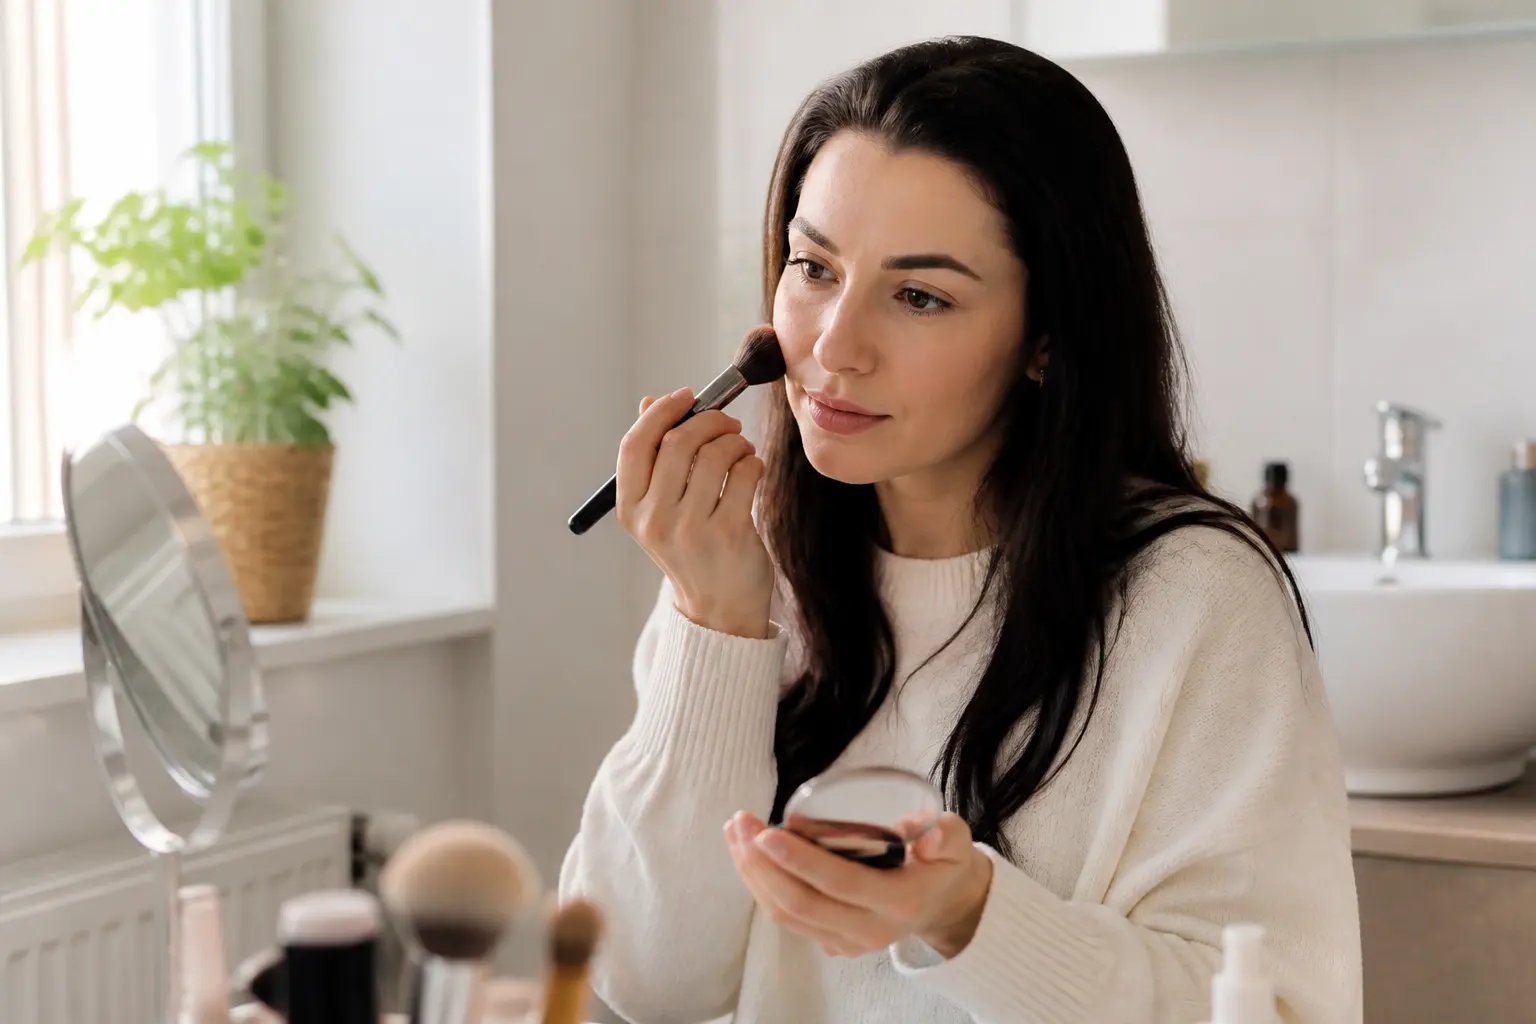
This is the point when make-up elsewhere can feel more manageable, provided you keep it away from the healing zone. You might wear concealer under the eyes, blush on the cheeks and lipstick as usual. When applying foundation, use a small brush or sponge and stop below the brow area rather than blending upwards in broad strokes. Avoid powders and sprays that can drift onto the brows.
It is also worth editing your evening routine. Cleansers, exfoliating acids, retinoids, facial oils and strong active products should not be allowed to migrate onto the brows during this early phase. Clean around the area with care, following the specific cleansing instructions you received.
Day 7 to Day 10: let healing, not the calendar, make the decision
Many people are eager to return to their normal make-up bag around the one-week mark. However, a date on the calendar is less important than what your brows actually look and feel like. If there is still flaking, tenderness, open skin, pronounced dryness or any area that has not fully settled, keep cosmetics away from the brows.
General aftercare information for micropigmentation often advises returning to normal skincare and make-up only once the area is healed, commonly around 10 days, while recognising that individual recovery can vary. East Kent Hospitals University NHS Foundation Trust gives this as a general benchmark for medical micropigmentation aftercare. Cosmetic eyebrow microblading is a different service, so your artist’s own instructions should remain your first reference.
If your skin is still in the flaking stage, a brow-free make-up look is the more patient choice. This short pause is much easier than trying to correct avoidable disruption later.
After the brows have fully settled: reintroduce products slowly
Once your artist confirms that you may return to your routine, reintroduce brow-area products with a light hand. Start with freshly cleaned brushes and applicators. If you use foundation or concealer, avoid vigorous buffing across the strokes. Patting gently around the brows is kinder than repetitive rubbing.
You may find that you need far less brow make-up than before. Microblading is designed to add shape and hair-like detail, so many clients reserve pencil or tinted gel for occasions when they want extra definition. Choose products that suit the finish you want, but do not assume you need to recreate your old routine in full.
For daytime in Malta, think about sun protection as part of your wider long-term brow care once the skin has healed. Apply suitable sunscreen carefully around the brows without aggressive rubbing. Sun exposure can affect how pigment appears over time, which is why protection matters after the initial healing period as well as during it.
What make-up products should stay away from healing brows?
The answer is broader than brow pencil alone. During the healing period, keep the following away from the treated area:
- Brow pencils, powders, pomades, gels and soap-based styling products.
- Foundation, skin tint, concealer and colour corrector applied over or very close to the brows.
- Loose or pressed powder that can collect in the area.
- Highlighter and shimmer products on the brow bone.
- Setting sprays, facial mists and aerosol products that may land on the brows.
- Exfoliating skincare, including scrubs, acid-based products and retinoid products near the treated skin.
- Self-tan applied around the forehead and brow area.
This list is not about making your routine complicated. It is about reducing product build-up, friction and repeated contact while the skin needs a little space.
How to wear a polished full-face look without touching your brows
There are plenty of occasions when you may want make-up before your brows are ready for it. A work presentation, wedding guest outfit, dinner in Valletta or a holiday photograph does not have to mean abandoning your plans. It simply calls for a more strategic application.
Choose placement over coverage
Apply complexion products in smaller sections. Begin at the centre of the face, then blend downwards and outwards through the cheeks and jaw. On the forehead, stop well before the brows instead of sweeping product across the entire area with a large brush.
Keep eye make-up controlled
Mascara and eyeliner can usually create definition without approaching the brows. If you use eyeshadow, keep the blending soft and avoid carrying powder right up to the brow bone. Skip brow highlight until healing is complete.
Use lips and cheeks to create balance
A flattering lipstick, cream blush applied with clean hands or a light cheek tint can bring colour to the face without interfering with your eyebrow aftercare. This is also a useful reminder that a polished look does not depend on every feature being heavily defined.
Prepare a clean make-up kit
Wash reusable brushes and sponges before using them. Avoid sharing products and do not dip fingers repeatedly into pots of cream products. Hygiene matters in every make-up routine, but it is especially worth considering when you are protecting recently treated skin.
Common mistakes to avoid
One of the most frequent mistakes is using concealer to sharpen the brow outline too early. It may seem harmless, but it requires product application and removal exactly where the skin needs minimal disturbance.
Another is relying on a large fluffy brush to apply powder across the forehead. The powder itself may be light, but the repeated brushing motion and fine particles can reach the brows.
It is also easy to forget about make-up removal. A long-wear foundation or waterproof eye product can require rubbing or oil-based removers. If you choose to wear make-up elsewhere in the early days, select products you can remove carefully without dragging cleanser, wipes or cotton pads across your brows.
Finally, do not judge the final pigment colour from the first few days. The appearance can evolve as the skin settles. Picking at flakes or adding brow make-up to compensate for a temporary change can interfere with the process.
When to contact your artist or seek advice
Questions are welcome, especially if you are unsure whether a product is safe to reintroduce. Send a clear photo to your artist if this is part of the studio’s aftercare process, and explain when you had your appointment and what you are noticing.
Some sensitivity and changes in appearance can occur as the area settles, but worsening redness, heat, significant swelling, discharge or increasing pain deserve prompt professional advice. NHS aftercare information for micropigmentation also advises seeking medical guidance where redness, swelling, heat or pain persist or become excessive. University College London Hospitals notes that good aftercare supports healing and advises seeking help for possible signs of infection.
Do not try to cover a concerning change with make-up. Leave the area free from cosmetics and ask for advice.
Plan your microblading appointment around your diary
If you have an important event, photo session, beach day or celebration coming up, book your microblading with enough breathing room beforehand. The aim is not to rush your brows into looking a certain way on a particular day. It is to give yourself time to follow aftercare calmly and allow the result to settle without the pressure of needing full make-up immediately.
During a consultation, be open about your lifestyle. Tell your artist if you wear full coverage foundation daily, rely on brow products for work, have a holiday planned or need to attend a formal event soon. These details help you understand the aftercare commitment before you book.
Conclusion
Wearing make-up after microblading is mostly about patience and placement. Keep the healing brows clear of cosmetics, avoid rubbing and product drift, and return to your usual routine only when the skin has genuinely settled and your artist’s guidance allows it. You can still enjoy make-up on other areas of the face, but a lighter, more controlled approach makes the first days easier.
If you are considering Brazilian Microblading in Malta and want to understand the appointment, healing period and aftercare before choosing a date, book a professional conversation with the Becammo team. A little planning makes it easier to give your brows the gentle start they deserve.
Frequently asked questions
Can I wear foundation after microblading?
You may be able to wear foundation on other parts of the face with care, but keep it off the brows and leave a clear buffer around them during healing. Apply and remove it without rubbing towards the treated area. Follow your artist’s individual aftercare instructions.
When can I wear brow pencil after microblading?
Wait until the brows are fully healed and your artist has confirmed that you can return to brow products. A general guide of around 10 days is sometimes used for healed micropigmentation, but your personal healing process may take longer.
Can I use concealer around newly microbladed brows?
Not during the early healing period. Concealer can easily transfer onto the treated skin, and applying or removing it often involves rubbing close to the strokes. Give the brow area time to settle first.
Can I wear eye make-up after microblading?
A simple eye look may be possible if it can be applied and removed without touching the brows. Keep powder shadow, blending brushes, setting spray and make-up remover away from the brow area, particularly in the first days.
What if I accidentally get make-up on my brows?
Do not scrub or panic. Follow the cleaning guidance supplied by your artist and contact the studio if you are unsure what to do. Avoid adding more product or repeatedly touching the area.
Why do my brows look different before I can wear make-up again?
Fresh microblading can look stronger at first and may change in appearance as the skin settles. Dryness or flaking can also temporarily affect how the strokes look. Let the process unfold and avoid trying to correct it with make-up too soon.