Brazilian Microblading Healing: Your First Two Weeks
Brenda Cammo Team
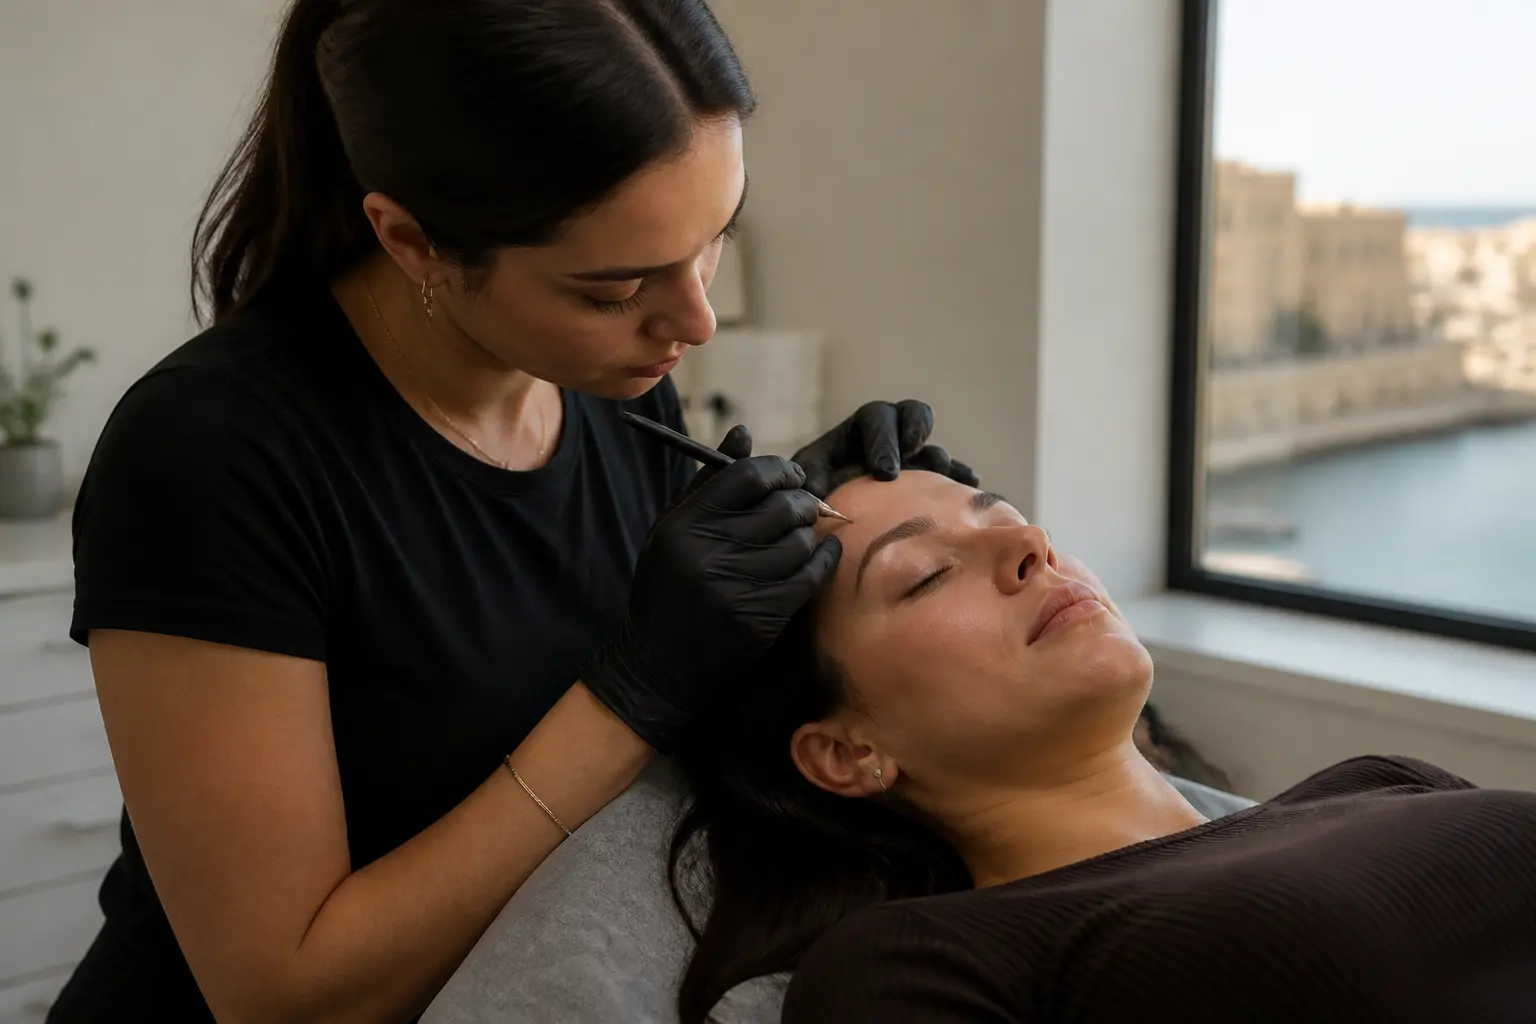
The first two weeks after Brazilian microblading can feel like a long time when you are checking your brows in the mirror each morning. Colour, definition and texture can change quickly, and that is precisely why it helps to know what a typical healing process may look like before your appointment.
Brazilian microblading is a semi-permanent brow technique designed to create fine, hair-like strokes. The immediate result is not the settled result. Your skin needs time to recover, and the pigment can look stronger, softer, patchy or lighter at different points in the first fortnight.
Every client heals differently. Skin type, lifestyle, natural brow hair, the individual response of the skin and how carefully aftercare guidance is followed can all affect the appearance of the brows. A professional appointment should include an individual assessment, clear hygiene standards and written aftercare instructions that apply to your own treatment.
Why the first two weeks can look so different
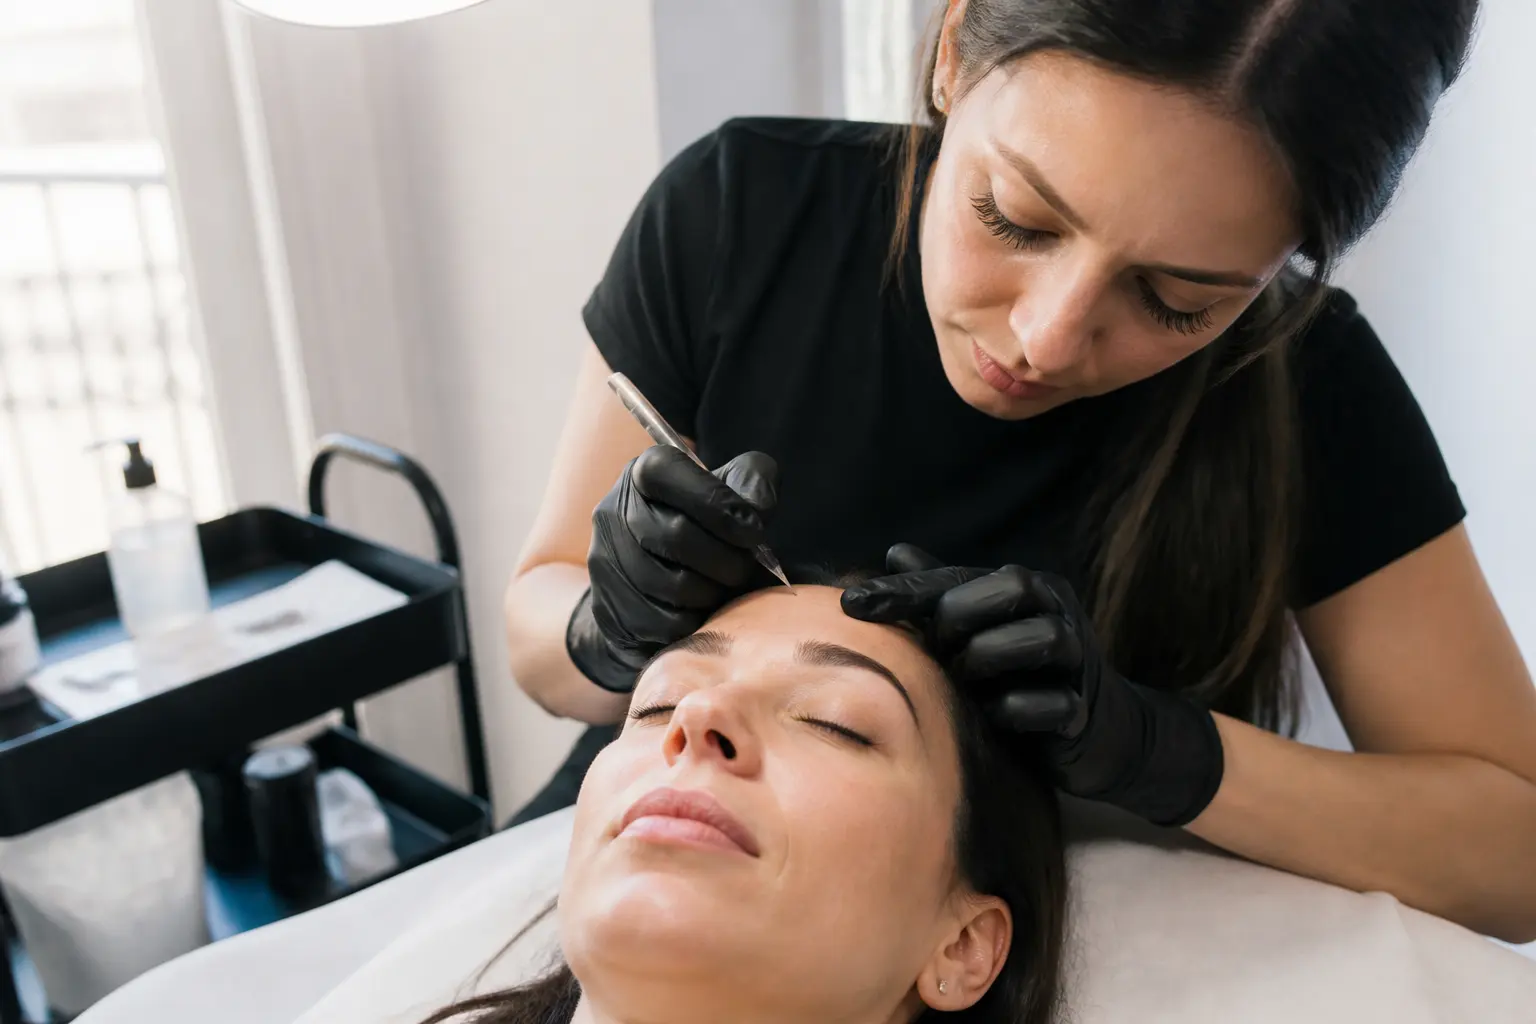
Microblading involves creating delicate strokes in the upper layers of the skin and placing pigment to enhance the brow shape. In the early days, the area may look more defined than expected. As the skin begins its normal recovery process, light flaking or fine crusting can appear. Later, the colour can seem to soften dramatically before it begins to settle.
This changing appearance is one reason it is important not to judge the final colour or density too soon. It is also why picking, rubbing or trying to correct the brows at home is not a good idea. The most useful approach is patience, gentle care and contact with your artist if something does not seem right.
Professional guidance matters. General tattoo and cosmetic-procedure aftercare guidance also emphasises following the specific instructions supplied by the practitioner, keeping the area clean and seeking medical advice if signs suggest infection or a significant reaction. University College London Hospitals
Brazilian microblading healing timeline: days 1 to 14
The timeline below is a practical guide, not a promise. Your artist’s aftercare plan always takes priority because it is based on the products, technique and assessment used for your appointment.
| Stage | What you may notice | What helps |
|---|---|---|
| Days 1 to 3 | Brows can appear darker, sharper and more prominent than planned. | Keep hands away and follow your artist’s cleansing and care instructions exactly. |
| Days 4 to 7 | Dryness, fine flaking or light crusting may begin. Colour can still look strong. | Do not scratch, peel or rub the brow area. |
| Days 8 to 10 | Flaking may reduce and the brows can appear suddenly lighter or less even. | Stay patient and avoid trying to fill in, tint or reshape the area. |
| Days 11 to 14 | The surface may look calmer, while colour continues to settle beneath the skin. | Resume products and activities only when your practitioner says it is appropriate. |
Days 1 to 3: brows often look bold
Fresh Brazilian microblading commonly looks more intense than the healed effect. The strokes may appear crisp, the colour may seem deeper and the overall brow can feel more noticeable than you anticipated. Mild sensitivity or tightness can also occur after a procedure that has worked on the skin.
This is not the moment to assess whether the brows are too dark. It is also not the moment to wash away colour, add make-up to change the shape or repeatedly touch the area to inspect it. Hands can transfer bacteria and rubbing can disturb healing skin.
Plan for a quiet start if possible. Avoid scheduling microblading immediately before a beach day, an intense gym session, a pool visit or an event where you expect to wear heavy brow make-up. Malta’s warmth and humidity can make this planning especially useful, as heat and perspiration may make it harder to keep the area comfortable and undisturbed.
Days 4 to 7: the flaking stage
During the middle of the first week, you may notice the brow area beginning to feel dry. Fine flakes or small crusted areas can develop. This can be the stage that tests your patience most, particularly if one brow seems to flake before the other.
Do not pick at flakes, even if they appear ready to lift away. Pulling at healing skin may disrupt the pigment that is settling and can leave an uneven-looking result. Let any flaking release naturally.
Keep your routine simple. Use only the products and methods recommended by your practitioner. Avoid experimenting with exfoliants, brow oils, retinoids, acids, fragranced products or make-up close to the area unless your artist has confirmed that it is suitable. If you are unsure about a product, send a photograph of it to the studio and ask before using it.
Days 8 to 10: the lighter-looking phase
As surface flakes come away, it is common for the brows to look lighter than they did a few days earlier. Some clients describe this as a temporary “where did my brows go?” moment. The colour may look muted, and strokes can appear less obvious while the skin continues to settle.
Try not to panic or book an early correction based on this stage alone. Healing is not always symmetrical, either. One brow may appear to settle differently from the other for a few days because skin and natural brow hair are not identical on both sides of the face.
A natural brow design is also personalised. At Becammo, brow work is approached with attention to facial balance, natural hair direction and individual features, rather than forcing one standard shape on every client. Healing should be viewed with that same perspective: the goal is an enhanced version of your own brows, not identical copied brows.
Days 11 to 14: calmer skin, ongoing settling
By the end of the second week, the surface of the skin may look calmer. That does not mean the healing journey is fully complete or that the colour has reached its settled appearance. Your artist will advise you about the appropriate review or touch-up plan for your service.
Continue to avoid treating a two-week result as final. This is a useful time to make notes for your follow-up, such as where you would like slightly more definition, whether you prefer a softer or more structured look, and how the colour is sitting alongside your hair and skin tone. A good review conversation is specific and realistic, rather than rushed.
Practical aftercare habits for the first fortnight
Your own aftercare instructions should always lead the way. In general, these habits support a careful, low-interference approach while the brows recover.
- Wash your hands before going near your face. Avoid unnecessary touching, checking or pressing on the brows.
- Follow the studio’s cleansing instructions precisely. Do not substitute a different cleanser, balm or home remedy without asking.
- Keep make-up away from the healing brow area. Brow pencils, powders and concealers can wait until your artist confirms it is appropriate.
- Avoid picking and scratching. Let flaking or fine crusting come away naturally.
- Protect the appointment in your diary. Where possible, avoid heavy sweating, swimming, steam rooms, saunas and direct sun exposure during the period advised by your practitioner.
- Do not add other brow services too soon. Threading, tinting, lamination, waxing and facial exfoliation should be timed around your healing plan.
The reason for these precautions is simple: healing skin is more vulnerable to irritation and disruption. The best aftercare is usually not about doing more. It is about avoiding unnecessary interference and allowing the procedure to settle as instructed.
What not to do when the colour looks uneven
Temporary unevenness can be frustrating, especially when you are used to styling your brows every day. However, trying to fix a healing brow at home usually creates more uncertainty, not less.
Avoid the following:
- Filling gaps with brow pencil or powder before you have been cleared to do so.
- Plucking around the design because the outline looks unfamiliar during the early days.
- Applying strong skincare ingredients near the brows.
- Using an exfoliating scrub or brush across the forehead and brow area.
- Booking a tint, lamination or threading session without checking the healing timetable first.
- Comparing your day-five brows with another person’s fully healed photograph.
Instead, take a clear photograph in natural light every few days. This gives you a more useful record than repeatedly inspecting your brows under different bathroom lighting. If you have a question, share that photograph with the studio so the team can advise you in context.
When to contact the studio and when to seek medical advice
It is sensible to contact your artist if you are unsure about aftercare, have accidentally used a product near the area, or are worried by a change in appearance. Questions are easier to address early than after someone has tried to solve the issue alone.
Some signs require medical advice rather than beauty guidance. Spreading or worsening redness, increasing pain, marked warmth, swelling that becomes more severe, pus or unusual discharge, fever, chills or feeling generally unwell can indicate a possible infection or significant reaction. In those circumstances, seek prompt advice from an appropriate healthcare professional. These warning signs are also highlighted by the American Academy of Dermatology and NHS hospital aftercare resources for tattooed and pigmented skin.
If you experience symptoms of a serious allergic reaction, such as breathing difficulty, chest tightness, dizziness or widespread hives, seek urgent medical help. A beauty studio cannot diagnose or manage medical complications.
How to prepare for a smoother healing experience
Good healing starts before the appointment. Choose a time when you can follow the aftercare plan without rushing. If you are travelling around Malta, attending weddings, planning beach days or training regularly, book with enough breathing room after the procedure.
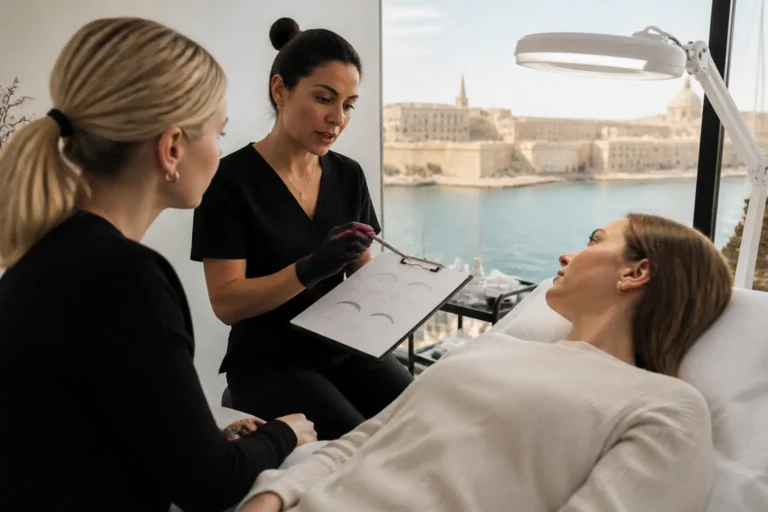
At your consultation or appointment, be open about relevant skin sensitivities, allergies, previous semi-permanent makeup, current skincare and any concerns about shape or colour. A professional assessment is the right place to discuss whether Brazilian microblading suits your brow goals and what a natural-looking outcome could mean for you.
It is also worth preparing a few practical basics at home: clean pillowcases, a plan to keep your hands away from your brows, and a simplified skincare routine that will not accidentally travel over the treated area. Small decisions can make the first week feel much easier.
Conclusion
The first two weeks of Brazilian microblading are a transition, not the finished reveal. Brows may begin bold, pass through a dry or flaky stage, look softer than expected and then continue settling. Understanding that sequence can make it far easier to care for your brows calmly and avoid unnecessary interference.
If you are considering Brazilian microblading in Malta, booking with a professional studio gives you the chance to discuss your skin, natural brow pattern, colour preferences and aftercare questions before you commit. Choose the Becammo location that suits you in Sliema or Swieqi, and use the final booking step to select Brazilian Microblading and secure your appointment.
Frequently asked questions
How long does Brazilian microblading take to heal?
The first two weeks cover the most visible early changes, including darkening, flaking and temporary softening of colour. The full settling process takes longer, and your artist will advise you on the right timing for review or touch-up based on your individual healing.
Why do my brows look darker straight after microblading?
Freshly placed pigment and the immediate response of the skin can make the brows look more defined and deeper in colour at first. This early appearance is not the final healed result.
Can I pick flaky skin after Brazilian microblading?
No. Do not pick, scratch or peel the brow area. Allow flakes or fine crusting to release naturally, and follow the aftercare instructions given by your practitioner.
Can I wear brow make-up during the first two weeks?
Avoid brow make-up on the healing area until your artist says it is appropriate. Products, brushes and removal can irritate or interfere with the healing skin.
Can I go swimming after microblading?
Swimming, saunas, steam rooms and activities involving heavy perspiration are commonly restricted during early healing. Follow the exact timeframes supplied by your studio, as individual aftercare plans may vary.
What should I do if my microblading becomes very red or painful?
Contact the studio for guidance, but seek prompt medical advice if redness spreads or worsens, pain increases, the area feels hot, there is pus or unusual discharge, or you feel unwell. Do not attempt to treat a possible infection yourself.